Hello my crochet besties!
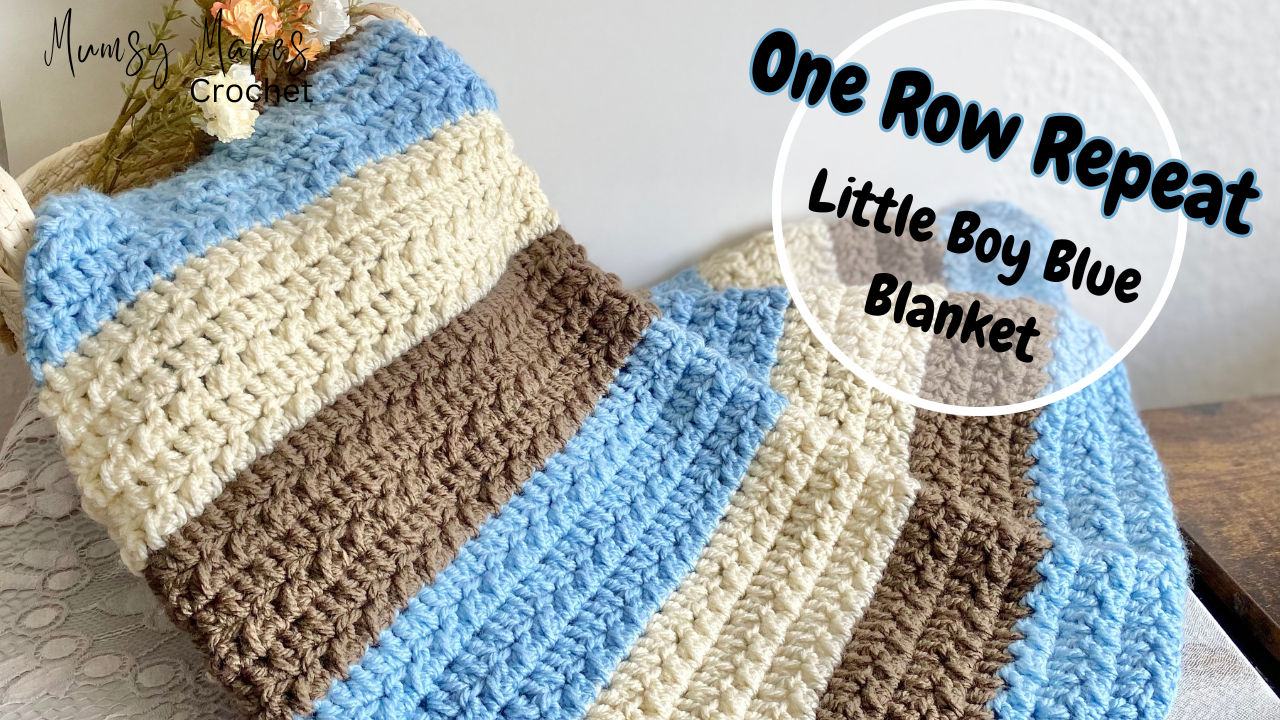
As you all know, I love a blanket that has lots of texture. So designing this blanket was everything! I’ve taken the traditional spike box stitch and altered it to make it more beginner friendly and it’s a 1 row repeat making it super simple!
If you would like the Ad Free version of this pattern you can grab it here. This will include the chart which tells you how many skeins you’ll need for each size blanket too.
You will need:
- 5mm hook/H-8 – You can grab the same hook set that I have here.
- Aran/medium worsted weight /10 ply in as many colours as you like. I used Sky blue, Ecru and Grey Brown from Hobbii for this which you can purchase here.
- Sharp yarn needle – You can purchase one here.
- Scissors
The Gauge swatch is 4 inches by 4 inches = 17 chains = 15 stitches by 7 rows using the pattern below.
If you would like to know how much yarn is needed for each size blanket, this information is available on the PDF version on my Etsy.
If you’re not sure on the stitch abbreviations I have a full printable PDF which you can grab here.
If you would prefer the video tutorial I have that too and you can find it here. I also have the left handed tutorial which you can find here.
Start by making a slip knot and chain the amount stated on the chart for your sized blanket.
R1: Hdc2tog over the 4th and 5th ch from the hook, 1 dc into the same space as the 2nd st of the hdc2tog. *hdc2tog over the next 2 ch’s, 1 dc into the same space as the 2nd st of the hdc2tog* repeat *to* to the last 2 sts, hdc2tog over the last 2 sts. Ch 2 and turn.
R2: (Hdc, 1 dc) into the first st, *hdc2tog and put 1 dc into the same space as the 2nd st of the hdc2tog* repeat *to* to the last 2 sts, hdc2tog over the last two sts.
Repeat row 2 until you reach the amount of rows specified in the chart above for your size blanket. To get the colour change pattern that I have in this blanket simply repeat row 2 for a total of 6 rows and then change colours. Then repeat 6 rows of each colour.
Once you’ve completed your last row ch 1 and turn, sc evenly around each side of the blanket making sure to put 3 sc into each corner. I like to put 2 sc into the end of each row to make it even on both sides.
You can then add a border of your choice or leave it as is.
Fasten off and weave in your ends and you have a beautiful textured blanket ready for your home or to gift to someone you love.
Happy crocheting!
Loralie xoxo
Don’t miss a thing!
Follow me on Instagram, Subscribe to my YouTube channel, join my Facebook group or why not subscribe to Mumsy Makes Crochet’s newsletter here and get amazing crochet content sent straight to your inbox as well as a free pattern!
